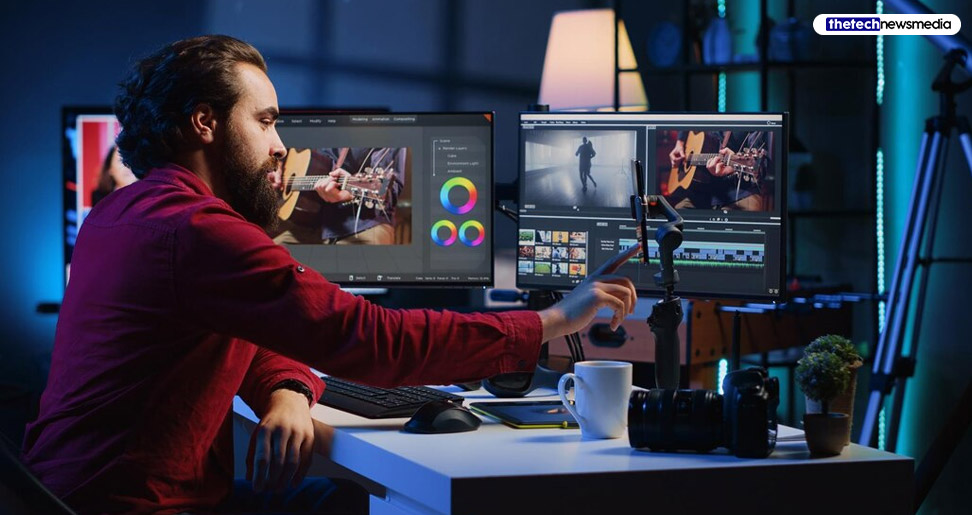
The DaVinci Resolve is a very popular video editing tool that has all of the necessary features that are needed to edit and render a video. In this article, I will be discussing the top things that you need to know about the DaVinci Resolve application/tool.
Keep reading till the end of the article to find out more information!
About Da Vinci Resolve
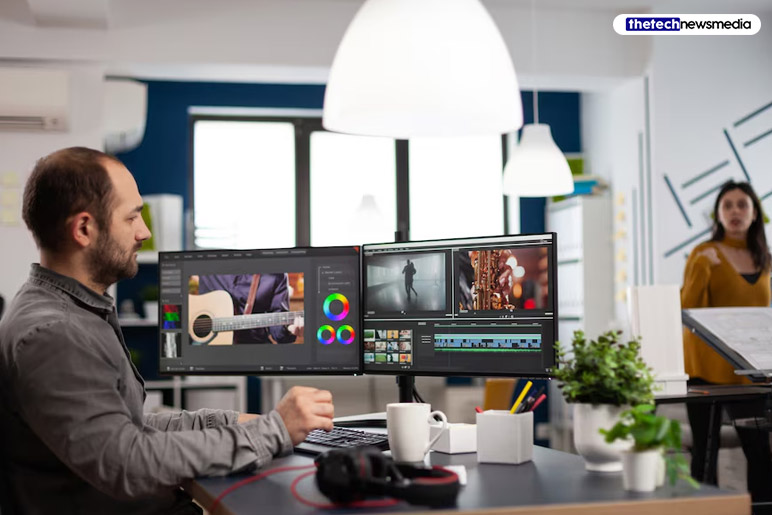

The Da Vinci is a color correction, color resolve, audio post-production, and visual effects editing application. It was originally designed for devices that run on Linux, macOS, and Windows.
This video editing application was originally developed by “da Vinci Systems” back in 2009.
Features Of Da Vinci Resolve


Here is a list of the few features that the Da Vinci Resolve poses for the users:
Smart Media Management

One of the few cons of video editing has to be losing access to footage because of unlinking, while on the go. But with the smart media management solution, this problem can be easily tackled.
The DaVinci Resolve allows the user to create specific file paths which will aid them in automatically linking the footage right from a remote location. This eliminates all the requirements of manually relinking the files – every time a user goes back online.
Auto-Depth Map
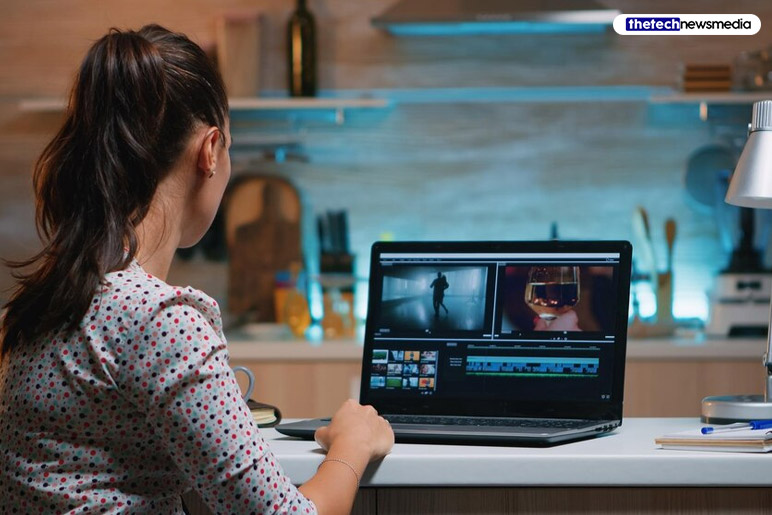

The DaVinci Resolve’s auto depth map feature allows the users to separate the background and foreground by using a 3D depth of any given scene. For instance, if you have a shot that features a two-way conversation then the application can allow the selected subjects to stand out. You can also bring out any focus on the specific actions that occur during a scene.
M1 Ultra Performance
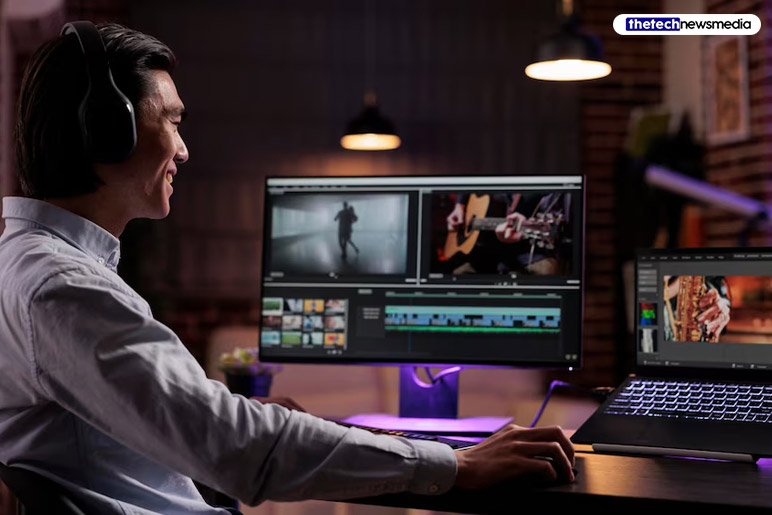

It also provides the users with ultra performance. This essentially means that the user will be able to get faster playback on the 8K multicam timelines. This would even aid with the editing of feature films right from the RAW files of the camera.
Especially if you are a Mac user then you are going to get high-resolution playback by using this video editing tool.
Enhanced Subtitles
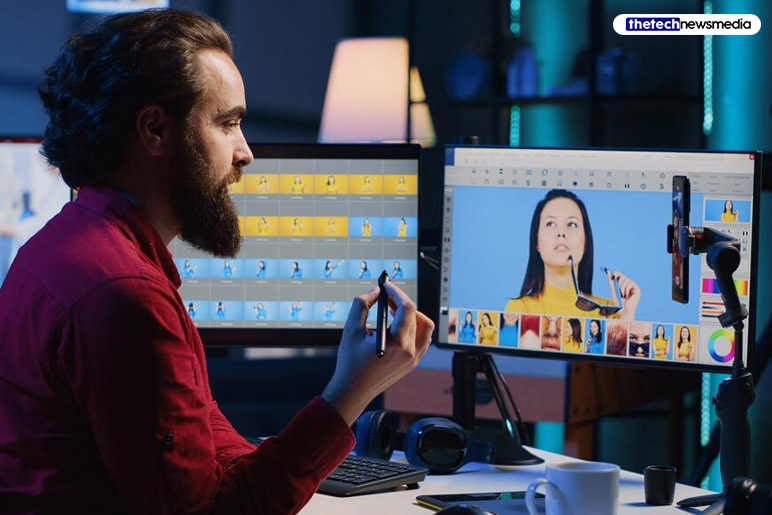

For the creation of content in many languages, Resolve18 has an enhanced subtitles feature. It allows its users to import subtitles from the media storage. This lets them create regions that allow them to put various captions per track. There’s a style menu where you will be able to change the size, font, and positioning of subtitle texts.
You can even create backgrounds and opt for drop shadows to make the text stand out against the same colored portions of an image.
Proxy Generator
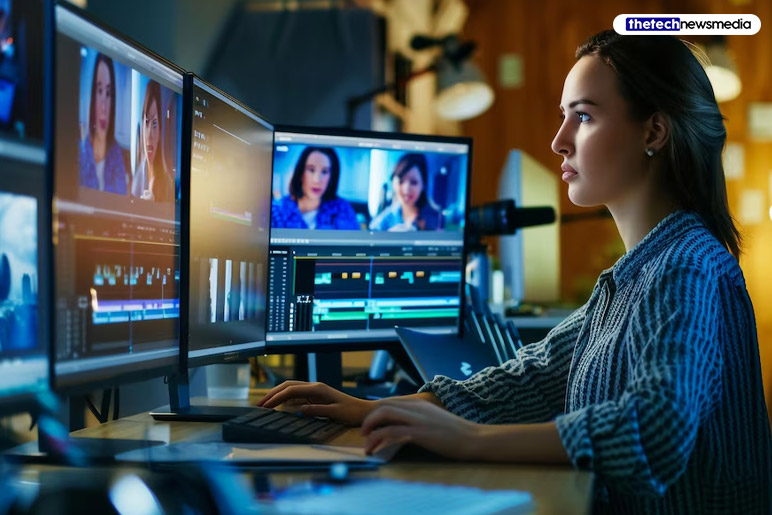

This application gets auto-installed upon installation of the DaVinci Resolve app. When the users install the free version of the application, they even get a lite version of the app installed on their devices. Another nice feature of this generator is that it aids in simplifying the proxy workflow overall.
The Resolve tool can search up a specific proxy in a file tree and then link it back to the camera’s original file.
Youtube Chapter Markers
There are a lot of ways that you can streamline your work as a Youtuber with this app. This tool has a feature called chapter markers which reaffirms a smoother transition from exporting the final video to uploading it on Youtube.
It can be done by making use of the particularly colored timeline makers as a form of reference for generating chapters on Youtube. This gives the viewers an easier form of navigation to the different points in a video.
The Blackmagic Cloud
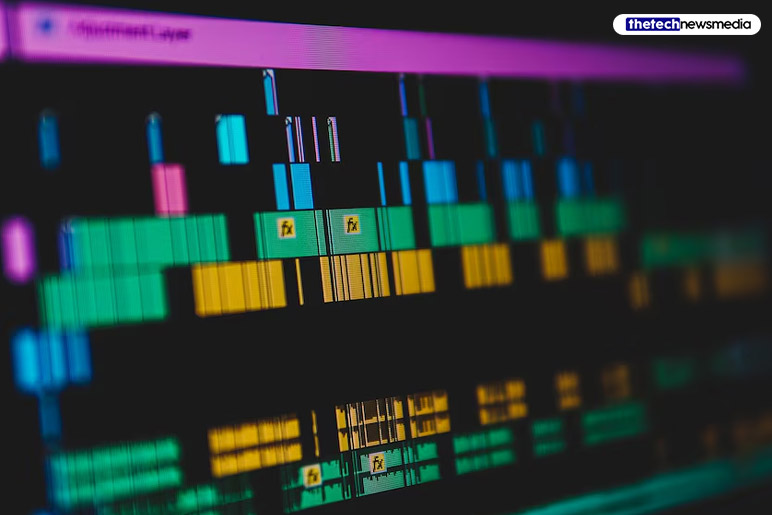

The Blackmagic Cloud is more of a collaborative work tool feature. It has the potential to share your work with artists located all over the world. For instance, you can work on a video by yourself first and then share access to it with an artist who lives right across the world! You get to share access with multiple people at that – all over the world.
Getting Started With DaVinci Resolve
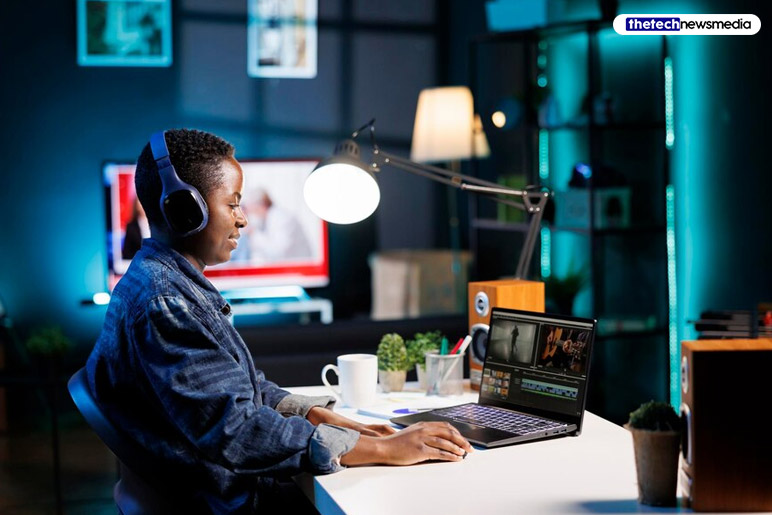

Here are a few steps to getting started with the DaVinci Resolve:
Step 1
After you open up the application, you will be given the option of loading up a pre-existing project or beginning a new one. You need to select the option “new project” and then give it a name. After you are done doing that, it will show you the main display where you will get to see all of the tools and features.
Step 2
After you are done creating your new project, it will be time for you to import the media and other video clips – that you want to use for putting together a video. There’s a wide range of tabs that the DaVinci Resolve provides, which you can make use of for varying aspects of the post-production process. There is more than one way of importing media.
Step 3
After you are done loading up all of the clips that you wish to include in your video then it will be time for you to trim down the clips and remove the elements of footage that you do not wish to include.
Step 4
You can add any clips to the timeline of your video if you wish to include that part in your video. To do that, you would need to drag the clips from the media pool and onto the main timeline that is located at the bottom of the screen.
Step 5
After that work on adding effects, title, and text to your video – wherever appropriate. Some tools provide color correction as well! If you need a tutorial on this then there are lots of them available on Youtube.
Step 6
The last step would be to export the video and save it in whichever format and quality you deem best. You can get access to all of the render settings in the Deliver Tab.
To Wrap It Up!
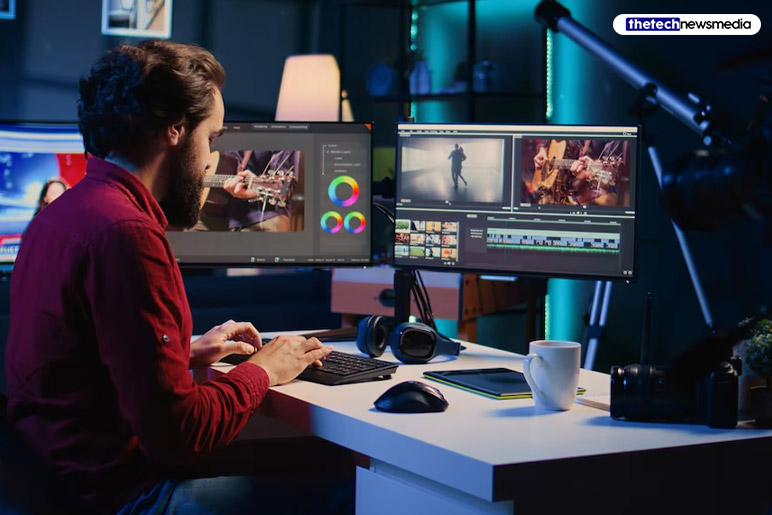

That was all for information regarding DaVinci Resolve and all that you need to know about it. Thank you for reading up till here. I hope you found the information useful.
Additional:
- How To Play Blooket?
- All You Have To Know About Google In 1998
- Google Allows Indian Users To Test Ai-Based Search Features From Today

