This application boasts a clean and clear interface and has tons of effects to offer to its users. It also features a very strong title editor. In this article, I will be discussing the Pinnacle Studio Ultimate Video Editor.
Keep reading till the end to find out more information on the same!
About Pinnacle Studio Ultimate


Pinnacle Studio Ultimate is a full-featured video editing application. It just released its 26th version and is now more powerful than ever. This application is only for professional experts who want to give their creativity a boost.
Interface
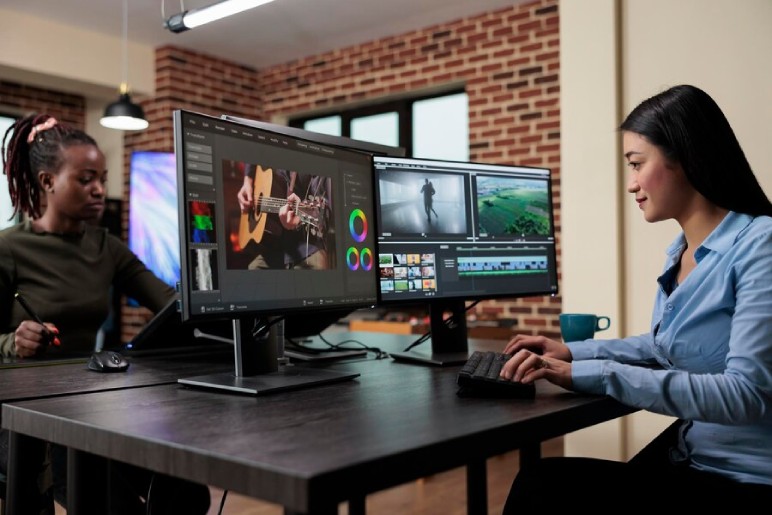

Pinnacle’s editing interface is both flexible and pleasing. It features a black and gray color scheme and also has 2D icons. The program also makes use of the concept of Project Bins.
This is where a user gets to stash and store all of their content for their given movie project – be it photos, sound files, and clips (just not the transitions and effects).
The program window mainly features four switching buttons – Import, Home Icon, Export, and Edit. The interface of this application is easier and more accessible as compared to the other video editors available out there.
Keep reading till the end to find out more about Pinnacle Studio Ultimate!
Features
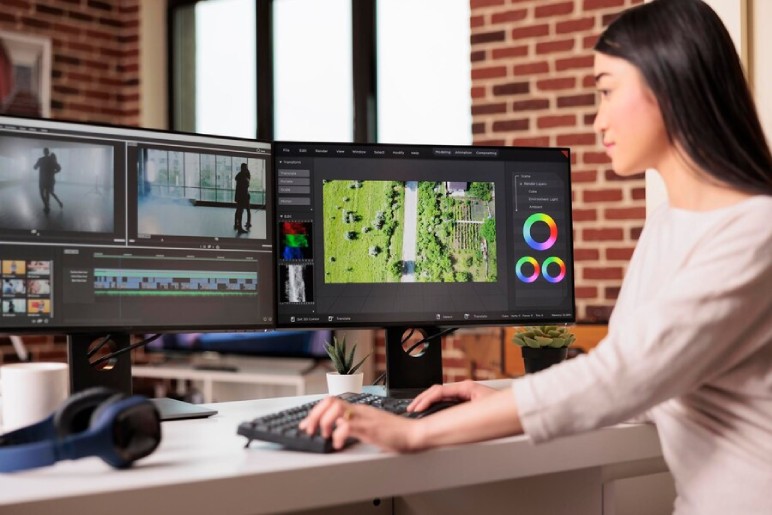

Here is a list of some of the useful features that the Pinnacle Studio provides to its users:
1. Nested Clips


The Nested Clips is one such feature that poses very useful capabilities for the users. This is especially so for the outros and intros, which you are surely going to use over and over again.
You can use this feature by selecting different clips that are on the timeline. First, you have to right-click and then click on the option labeled “Group”. Next, you would have to select “save the group as project”.
This is effectively going to collapse all of the clips into one and would allow you to edit it as a unit.
2. Keyframing

For the people who want total control over editing their movie, the Pinnacle tool lets you time every kind of adjustment and effect with particular keyframes. This also includes rotation. opacity, position, size, filter effects, time remapping, and transitions.
Keyframing would also enable a user to decrease or increase an effect eventually over time. After you have already set up a video project, you can save it as a template right from the file menu.
3. Filters


The tool features many of the standard and old-school Photoshop filters. There are also various impressive effects amongst them. Like the Old Film and Dream Glow.
You can also get access to third-party effects collections like – Photon Blast, Shredder, and New Blue’s Drop Shadow. All of them are of professional quality.
4. Color Grading


Both the plus and standard editions add some basic form of color adjustments to the clips that you import. The ultimate version is going to provide you with color-grading options as well.
Go to the top panel on the left side and select the editor button. There you will get to select a color and see four available options – HSL Tuning, Basic, Color Wheel, and Tone Curve. Along with all of these, you are also going to get the basic settings.
5. Transparency


This is a very special tool of its own, and the effect is accessible just from a button located above the timeline. It also provides an easy way to adjust each of the track’s levels of transparency in percentage form.
It is a very useful tool that aids in creating an evocative effect – especially for showcasing the passage of time.
6. Titles
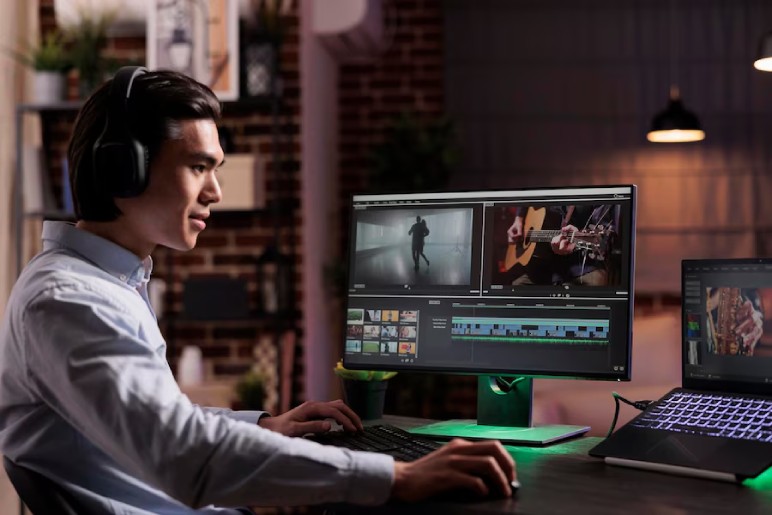

The text is a strong game for Pinnacle and it gets even stronger with the release of recent updates. The program now offers cool things like title editing in 3D which one usually finds in Final Cut Pro X.
The titles can be positioned on the three axes and you can also choose the light angle and source. You are also going to get a choice for the material types about your title like plastic or metal.
7. Screen Cam
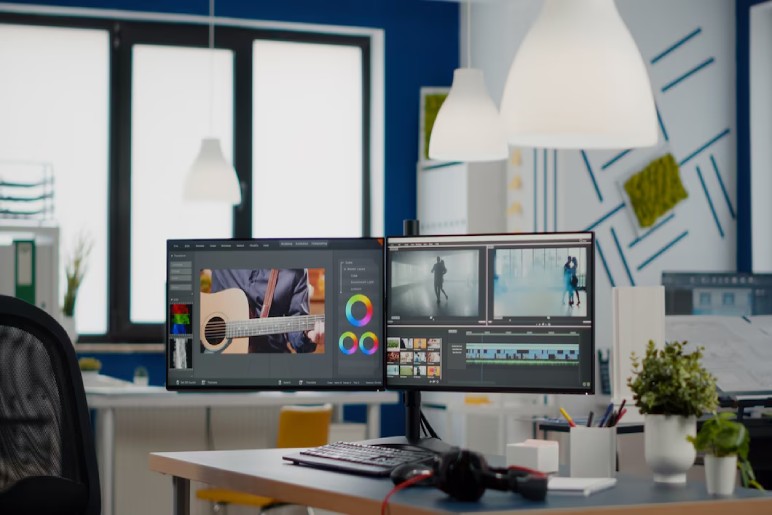

The Pinnacle Studio’s screen cam potential is also something that you are probably going to find in the Corel VideoStudio. This tool comes with a separate application referred to as Live Screen Capturing.
8. Studio Audio
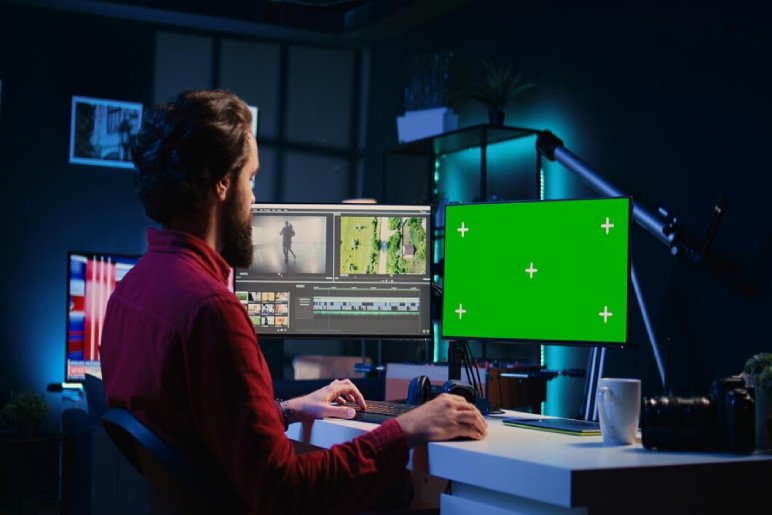

This feature deserves special mention. It is another strong point for Pinnacle Studio. A user can display level controls right from the timeline. There are also several toolbar buttons that will take you quickly to a catalog of voiceover recordings and background music options.
You even have the option of raising or lowering the volume of a clip by dragging the audio line of a clip up and down.
There are also score-fitter options that set the background music of the various styles to fit according to your movie. you just need to drag it to the timeline and click to fit. After processing some of the rendering the music will be automatically added.
Cost


Two primary packages are available for Pinnacle Studio. One is the entry-level which is priced at $59.99. The other is the Pinnacle Studio Ultimate which is available at $129.99. The latter is an option that comes with loads of effects and content.
The plus membership of Pinnacle’s Online Community also provides support, training, and stock content.
To Wrap It Up!
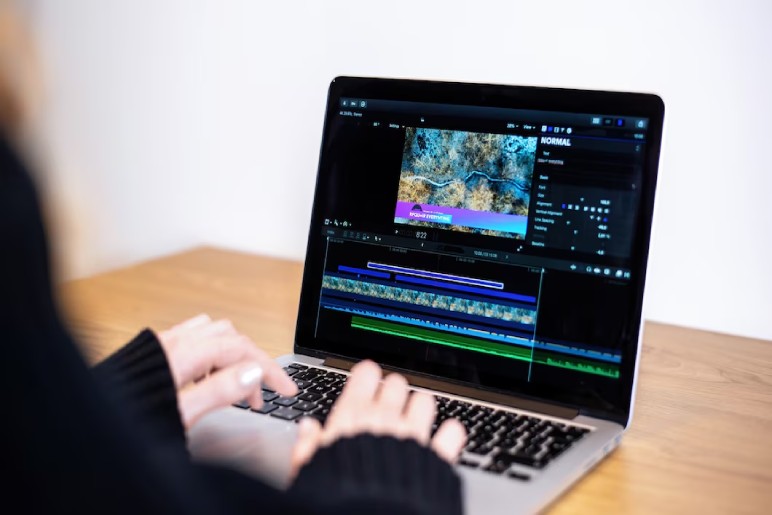

The main advantage of this tool over the others available in the market is that it is very beginner-friendly. There are not many learning curves to it.
That was all for information regarding the Pinnacle Studio Ultimate and other things related to it. Thank you for reading up till here. I hope you found the information useful.
Read Also:
- All You Have To Know About Google In 1998
- Meta Drops Their “Facebook News” Tab Section From The Facebook App
- Google Allows Indian Users To Test Ai-Based Search Features From Today


